How to Publish from Notion to WordPress using Zapier and Docswrite
Integrating Notion with Zapier and Docswrite allows you to automate your content workflow, making it easy to move content from Notion to publishing in WordPress, all triggered by your Notion database.What You’ll Need
- A Notion account
- A Zapier account
- A Docswrite account
- A WordPress site
Step 1: Generate Your Docswrite Authentication Token
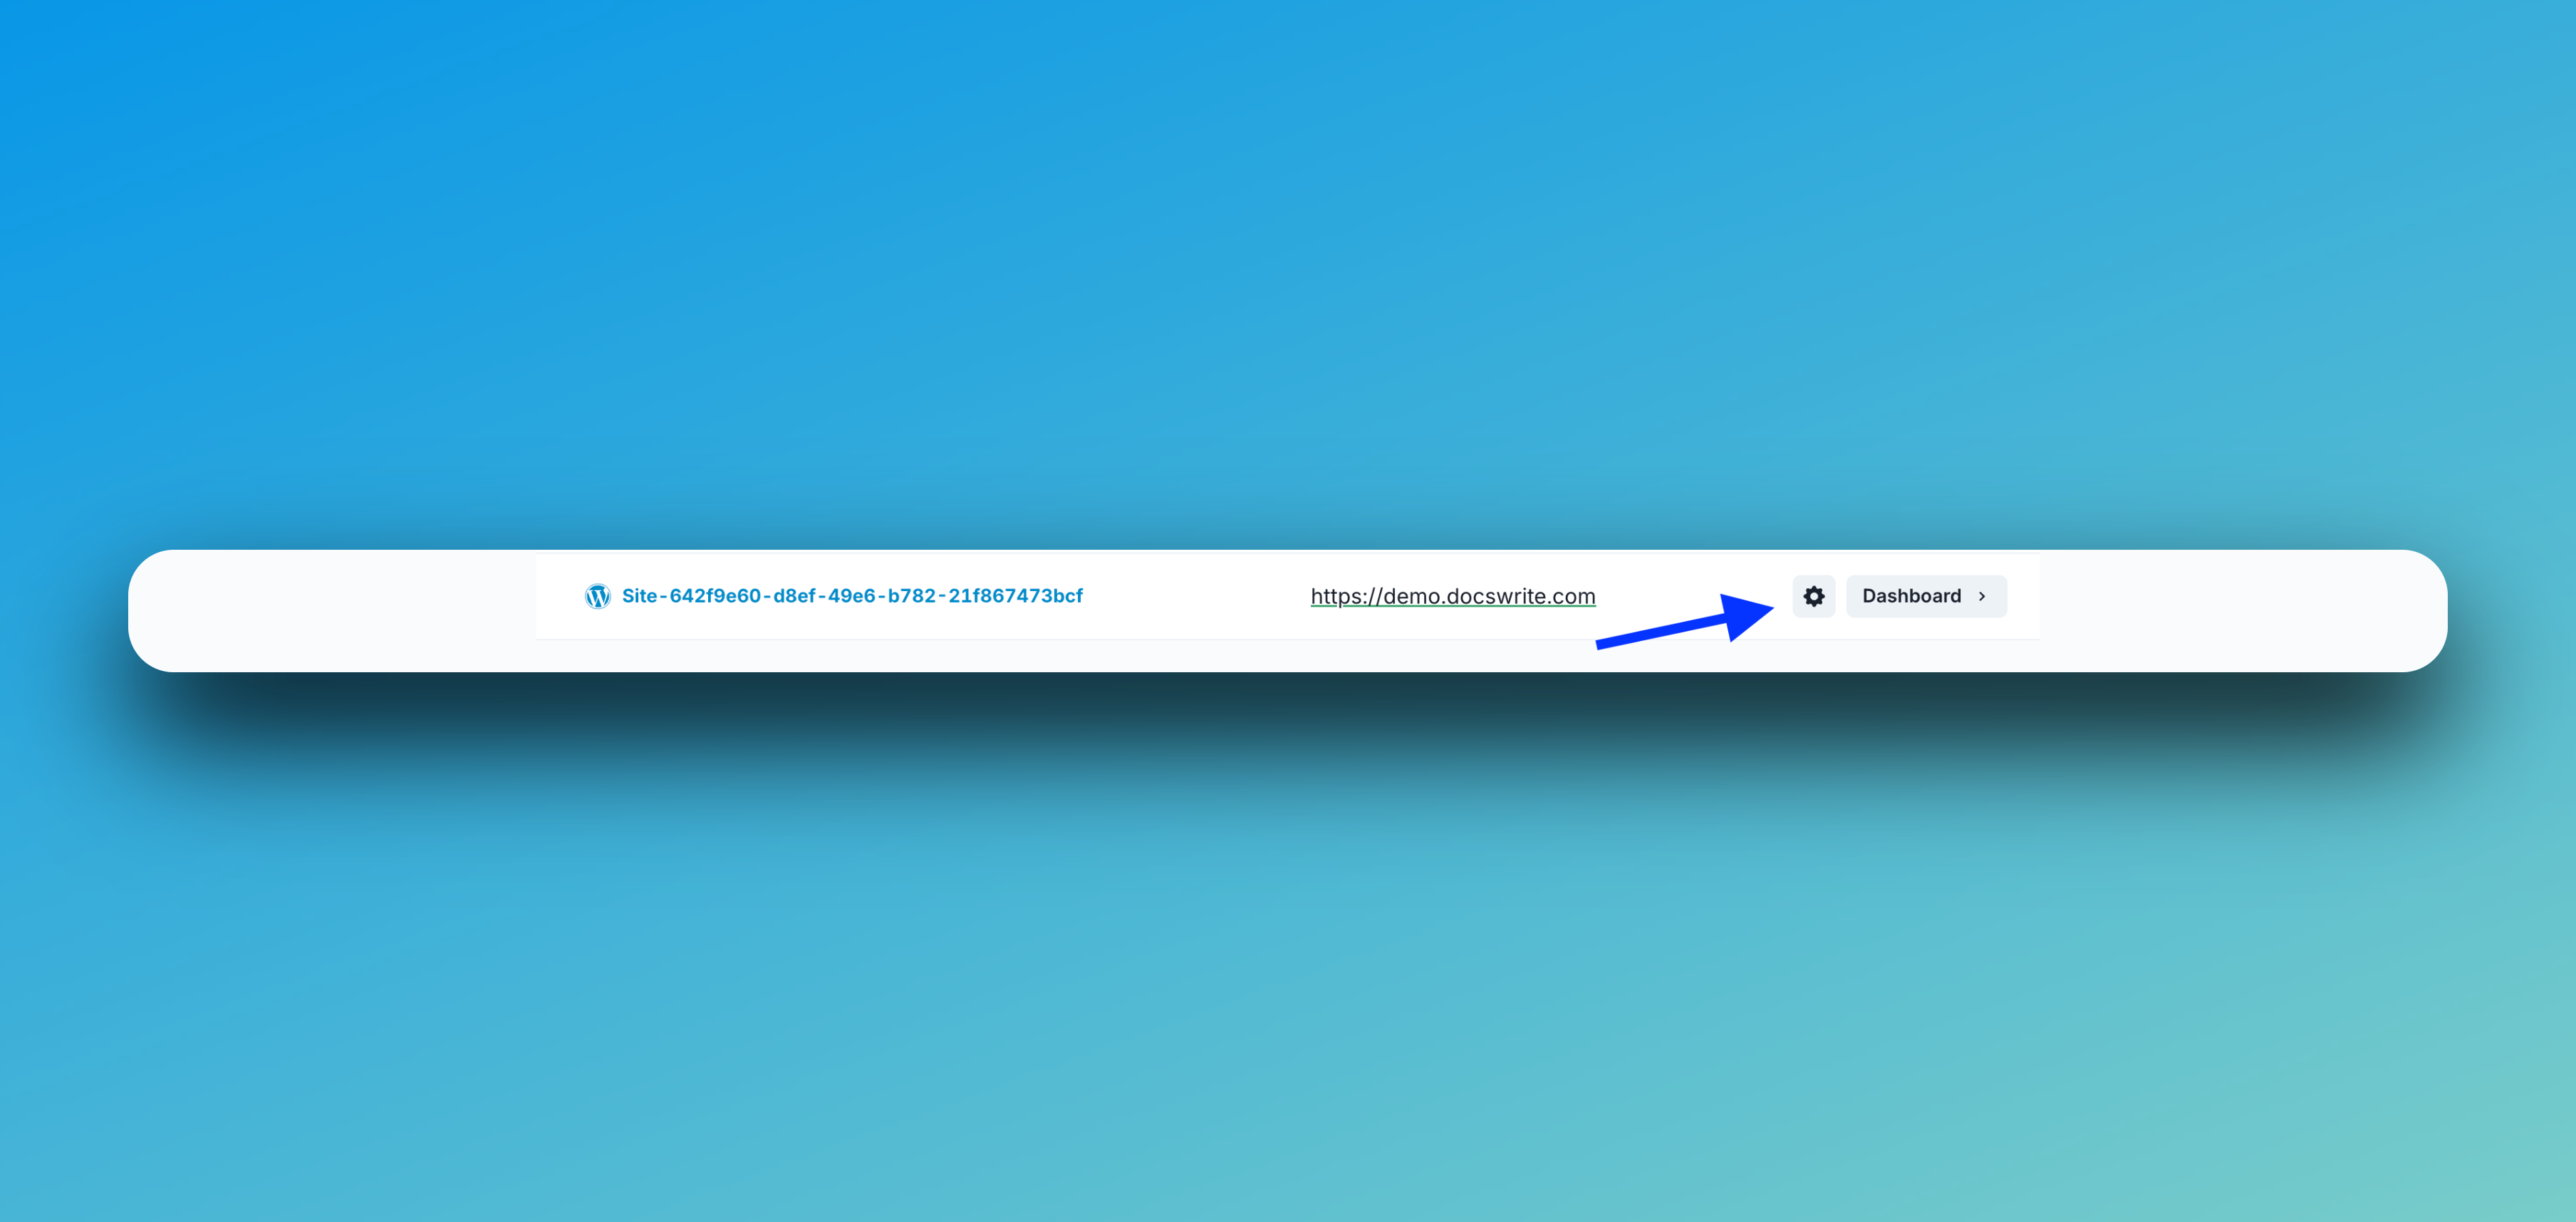
To connect Docswrite with Zapier, you’ll need an authentication token. Follow these steps:- Open the Docswrite Dashboard: Log in to your Docswrite account and navigate to your site’s dashboard.
-
Access Settings: Click on the settings icon of the site you want to manage.
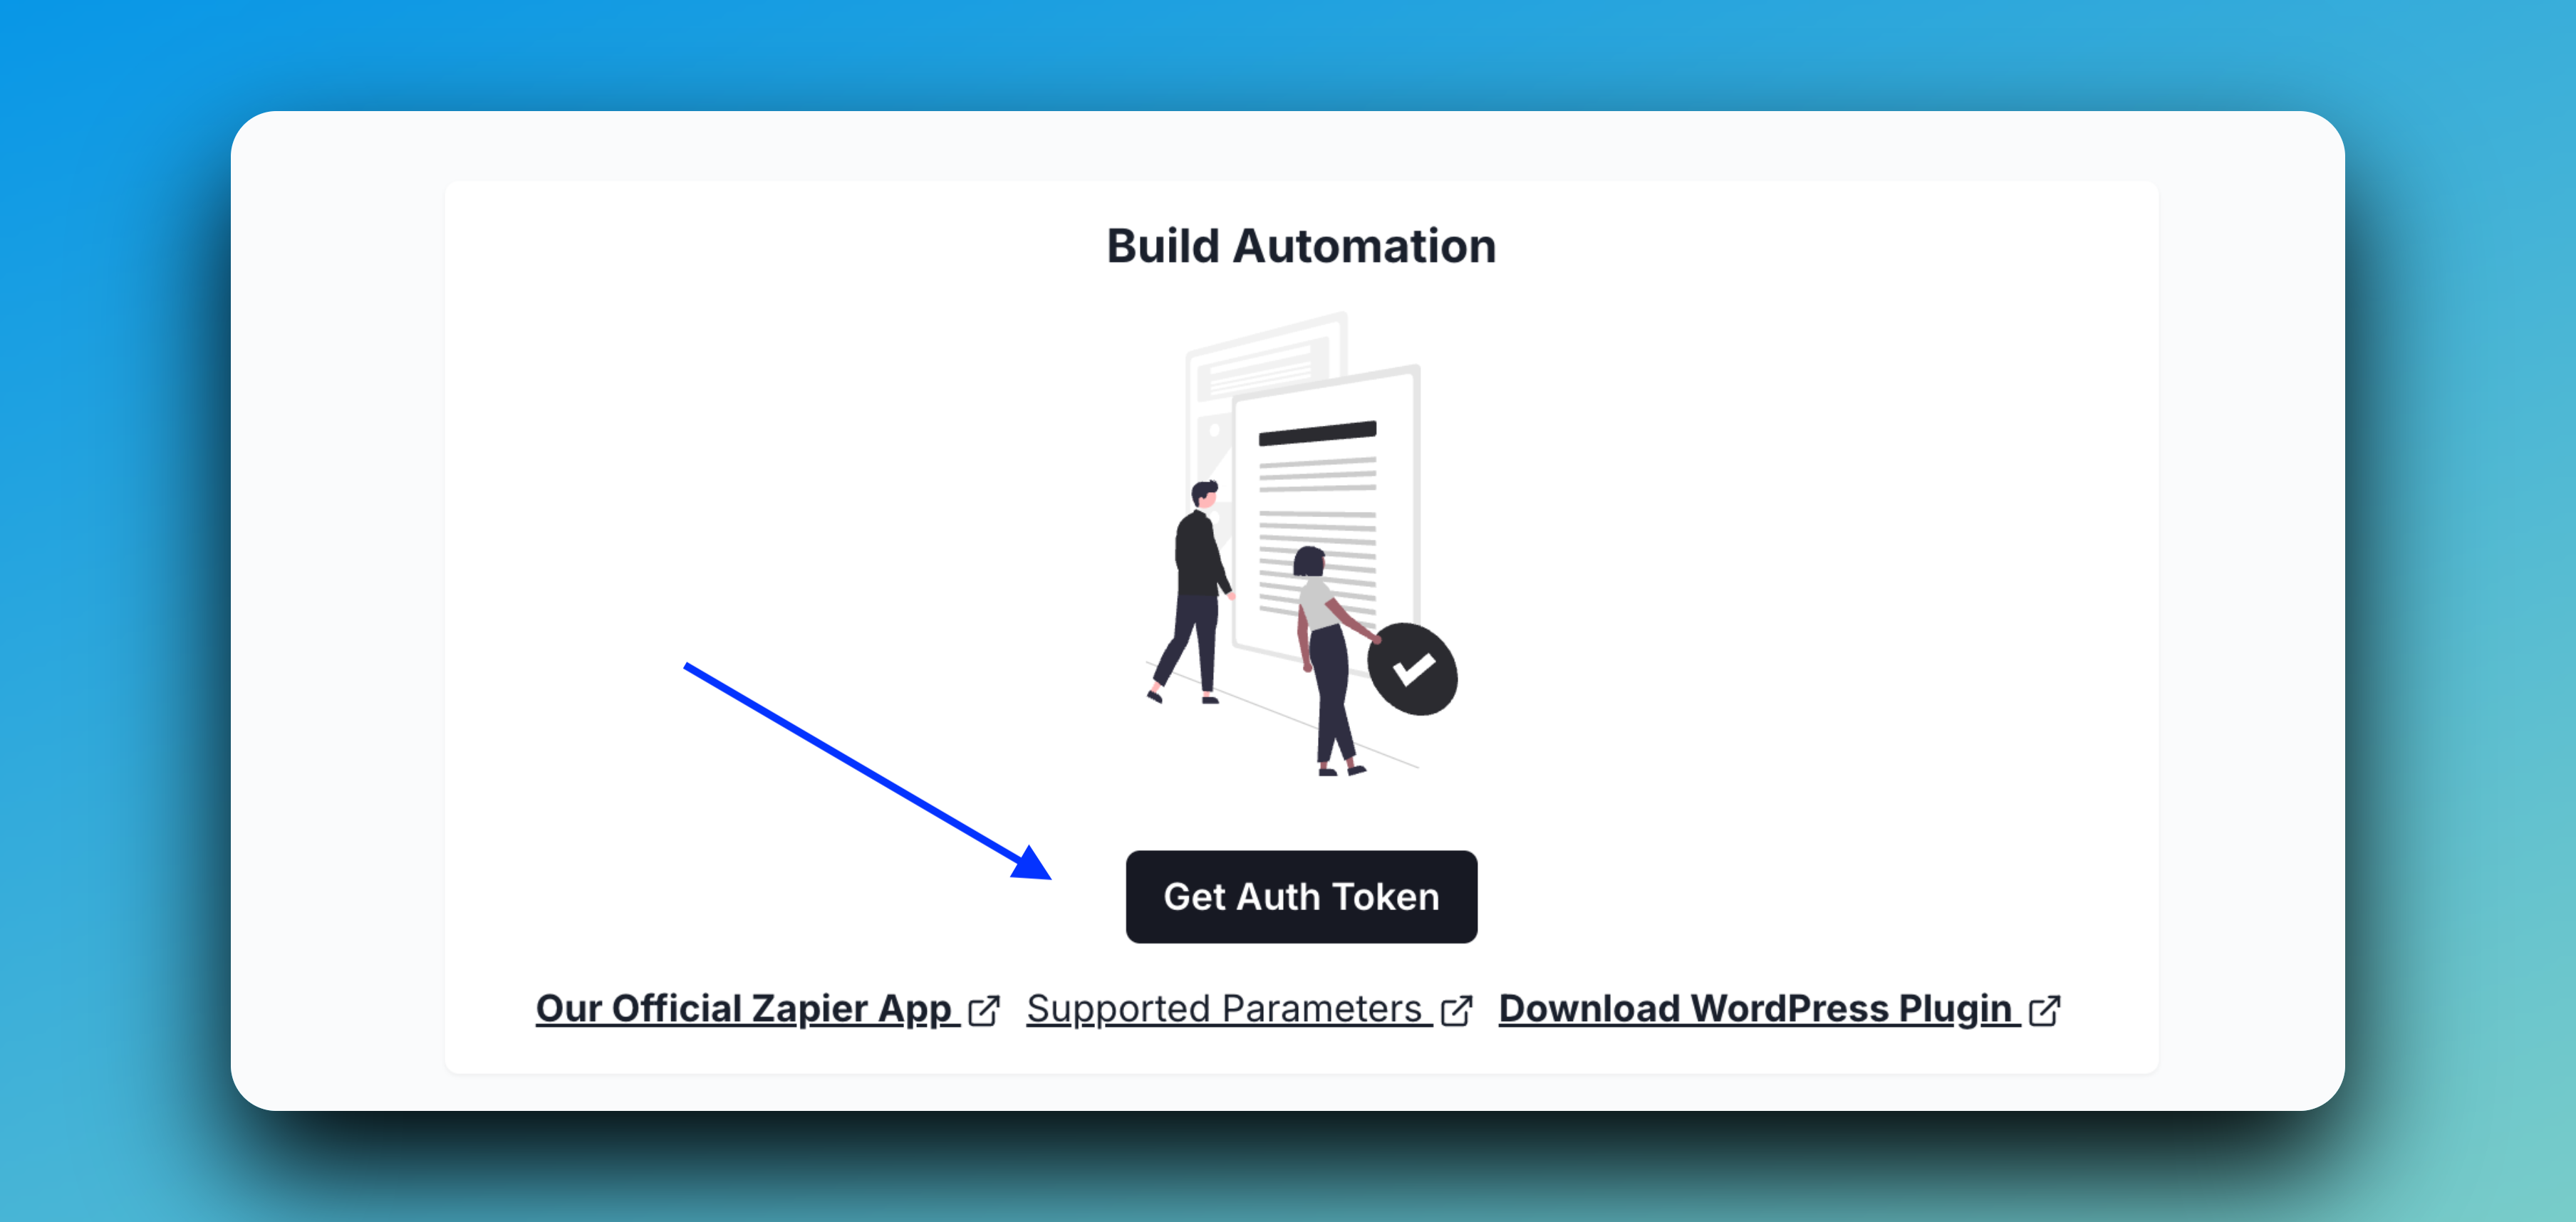
-
Generate Auth Token: In the Settings tab, click on Get Auth Token.
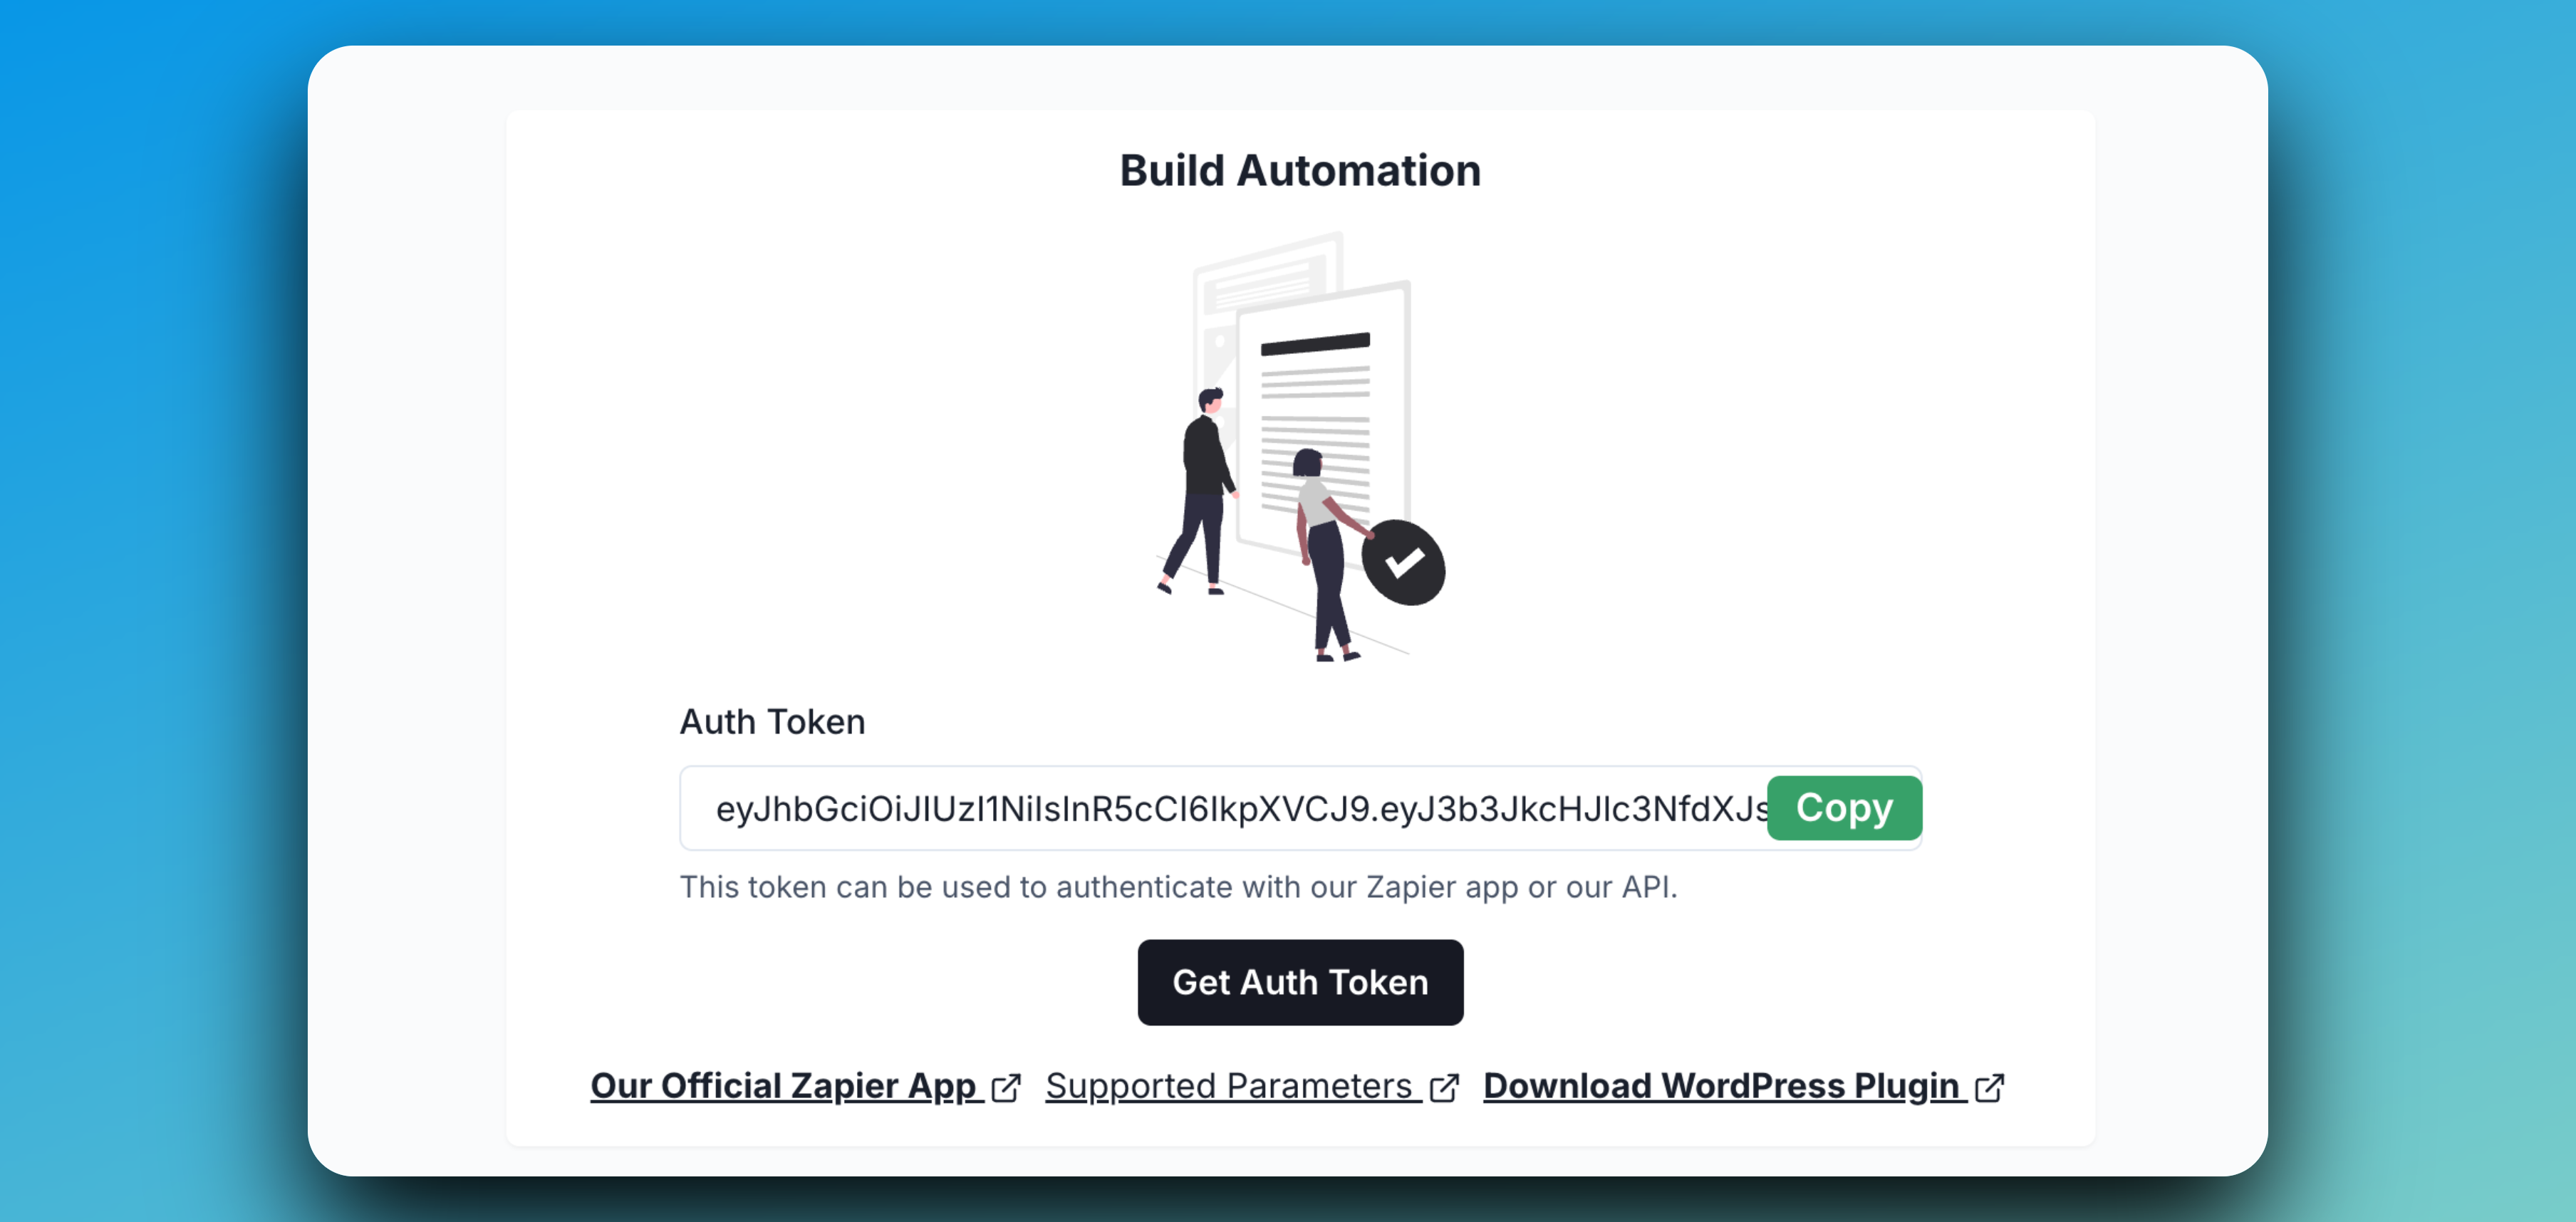
-
Copy and Save Your Token: Once the token is generated, copy it and keep it somewhere safe. You’ll need this token to connect Docswrite to Zapier.
Step 2: Make Your Notion Page Publicly Accessible
Before Docswrite can access your Notion page, you need to ensure the page is shared correctly. Here’s how:- Open your Notion page.
- Click on Share in the top right corner.
-
Toggle on Share to web so that “Anyone with the link can view”.
💡 If your Notion page isn’t shared to the web, Docswrite won’t be able to fetch its content!
- Copy the shareable link and save it for the next step to put it in your Notion database property.
Step 3: Set Up Your Notion Database
- Create a Notion Database: Organize your content workflow in Notion.
- Add Pages: Create a page for each piece of content you plan to publish. Include details like the title, tags, or categories.
- Add Properties:
- Notion Page Link: Add a property named “Notion Link”—this is where you’ll paste the public link to your Notion page.
- Content Editor: Add a property named “Content Editor” and set its value to either
gutenberg_editororclassic_editordepending on your preferred WordPress editor. - Author: Add a property named “Author” with your author name.
- If there are any other custom properties that you wish to control, just specify them in the database.
Step 4: Create a Zap in Zapier
- Log in to Zapier: Go to Zapier and log in or create an account.
- Create a New Zap: Click on the “Make a Zap” button.
Step 5: Set Up the Notion Trigger
- Choose Notion as the Trigger App: Search for and select Notion.
- Select the Trigger Event: Choose “New Database Item” (or another event that fits your workflow, such as “Database Item Updated”).
- Connect Your Notion Account: Authorize Zapier to access your Notion account.
- Set Up Trigger Options: Select the workspace and database that will trigger the Zap. Click “Continue” and test the trigger to ensure it works.
Step 6: Set Up Docswrite to Publish
- Choose Docswrite as the Action App: Search for and select Docswrite.
- Select the Action Event: Choose “Export Content from Notion to WordPress.”
- Connect Your Docswrite Account:
- Authorize Zapier to access your Docswrite Dashboard.
- Paste the Authentication Token from step 1.
Step 7: Test Your Zap
- Test the Zap: Run a test to ensure that adding or updating a page in Notion creates a post in WordPress.
- Check Your WordPress Site: Visit your site to confirm the post has been published successfully.
For a full walkthrough, see the YouTube tutorial.